Содержание
Printing the project
In «Print» mode you can form the unfolding of the project, add snapshots of the project made from different angles, specify materials and their amount, specify tiles trimm.
Edit plan
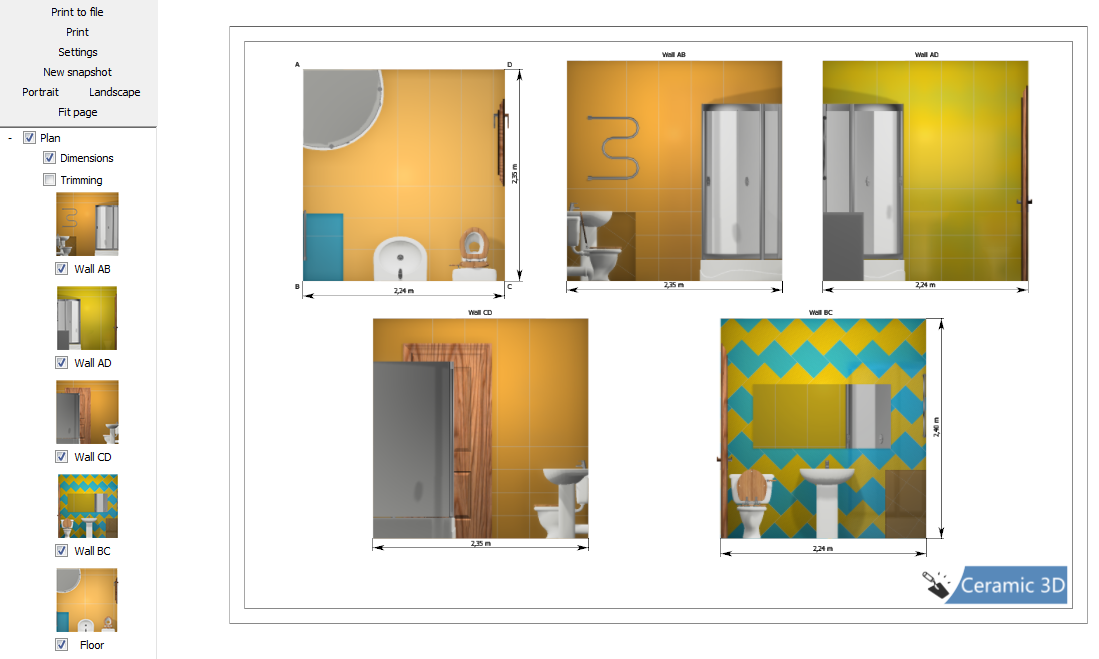
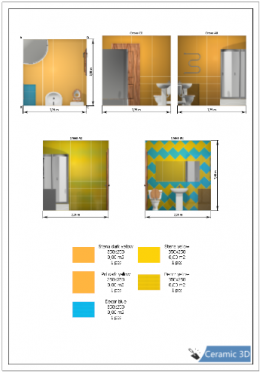
By default, the print project – plan – includes five projections of the project with indication of the room size:
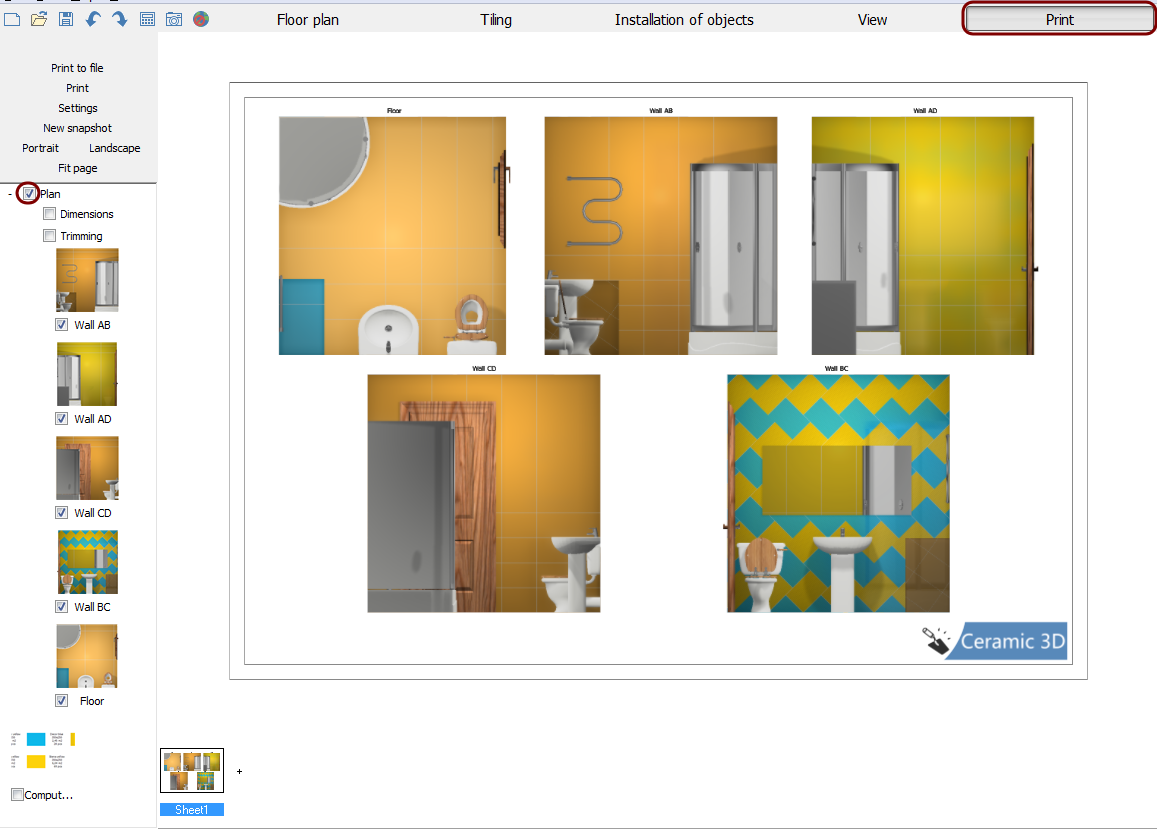
There is a «toolbar» On the Left side, just as in other modes:
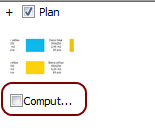 By clicking on the «+» «Unfold» menu will show up.
Adding a table showing the materials and their quantities.
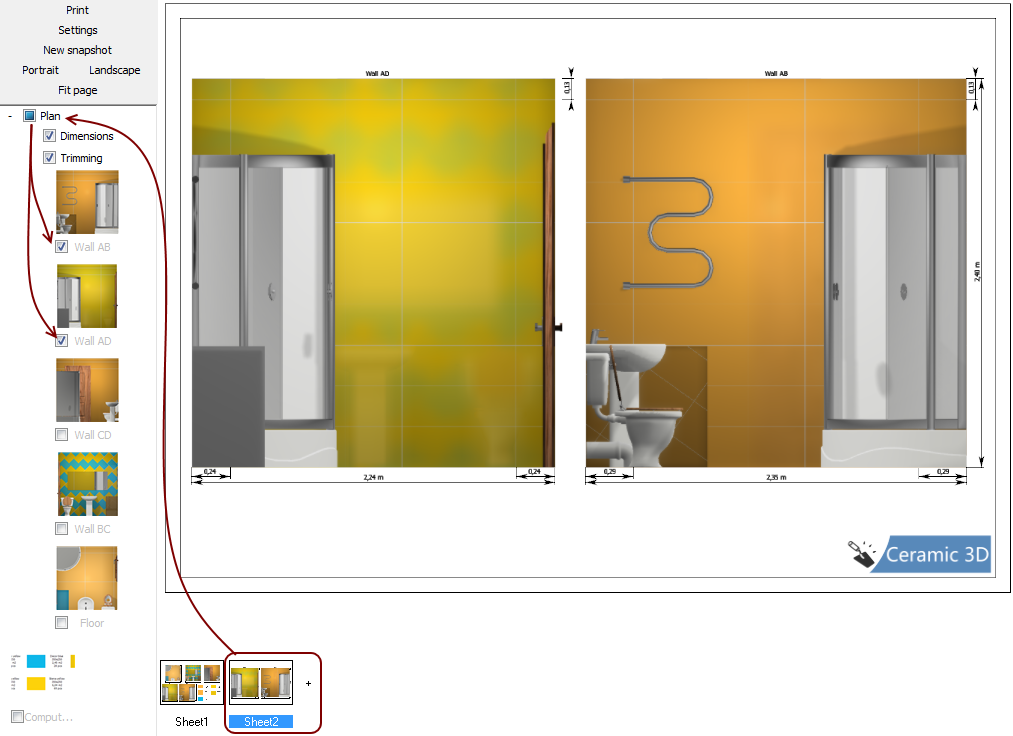
Print project may comprise several sheets.
To add another list, press on the «+» next to the thumbnail «Sheet №»:

Toolbar Interface
Printing to a file
Print to file – here you can save your print projet in .jpg format at a user specified location.
The function can be used to print your project from another computer, that doesn't have Ceramic Web software installed, but has a connected printer.
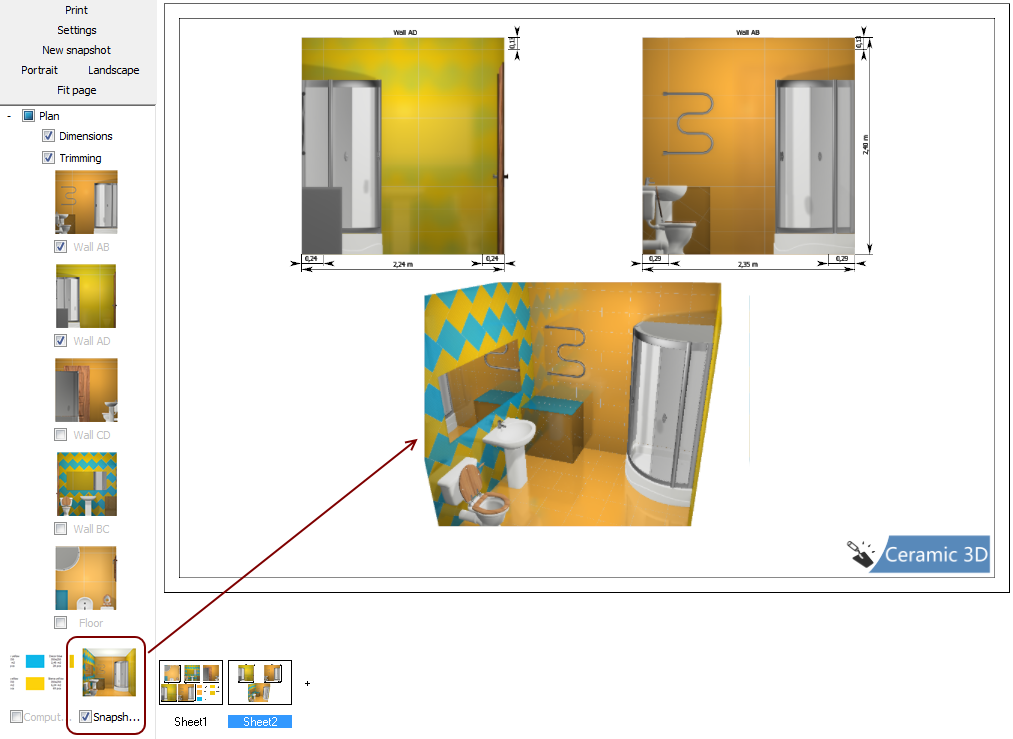
Adding an Image in the print project is similar to adding other objects.
Program uses the printer specified by default to print all the sheets. If there is no printer installed by default, program saves print project to a file (see. above).
Settings
Button «Settings» - similar to the function «Print». Only difference is in the possibility of pre-selecting the printer and changing printer's setup functions by pressing on the «Properties …».
